When Does a Printer Actually Need a Purge Print?
A “purge sheet” is a helpful user term, but most printer manuals use official names like Nozzle Check, Print Head Cleaning, Deep Cleaning, Power Cleaning, Special Cleaning, Ink Flush, or Align Printheads.
This page translates those guide terms into a simpler, easier-to-scan purge guide.
Print the built-in nozzle / diagnostic page before doing a heavy clean.
Missing one color, faint black, light banding, or a printer that sat unused.
Power Cleaning, Deep Cleaning, Special Cleaning, and Ink Flush use noticeably more ink.
This page is for inkjet printers. Laser printers use toner, so purge-ink pages are not the right fix.
Fast path
- Print a nozzle / print-quality check page.
- Match the symptom to the printer’s own maintenance term.
- Use the matching purge sheet only for the weak channel, then move up to the next built-in cleaning step if the guide recommends it.
What the guides say by printer type
| Brand | Printer / Series | Guide term | Occasional purge / cleaning advised? | What the guide says | Notes |
|---|---|---|---|---|---|
| Epson | EcoTank ET-2850 | Nozzle Check / Print Head Cleaning / Power Cleaning | Yes | Start with a nozzle check. If the pattern shows gaps, run print head cleaning. If several cleanings do not help, move up to Power Cleaning and follow the wait time before trying that heavy cycle again. |
Epson warns that Power Cleaning uses a lot of ink, requires healthy tank levels, and can shorten ink-pad life. Official manual · Power Cleaning guide |
| Canon | PIXMA G3270 (G3070 series manual) | Cleaning / Deep Print Head Cleaning / Replace Ink in Print Head | Yes | If the nozzle check is poor, start with standard cleaning. If that does not resolve the issue, move to deep cleaning, then to the heavier ink-replacement / ink-flush stage if the problem still remains. |
Canon’s G-series guidance also recommends regular printing to reduce image issues. Deeper maintenance steps consume more ink and need maintenance-cartridge capacity. G3270 operation-panel guide · G3070 troubleshooting flow |
| Canon | PIXMA G3020 series | Cleaning the Print Head / Deep Cleaning / Ink Flush | Yes | Clean only when needed for missing lines or streaks. If deeper cleaning still does not help, Canon escalates to Ink Flush as a later-stage maintenance action. | Ink Flush consumes a great amount of ink and should not be used casually, especially with low remaining ink. Cleaning guide · Ink Flush troubleshooting guide |
| Brother | MFC-J4335DW | Print Head Cleaning / Special Cleaning | Yes | Start manual cleaning when print quality drops. The guide also notes that the printer automatically cleans the print head when needed. | Special Cleaning is a heavier step and uses a large amount of ink, so it is meant for stubborn cases rather than routine use. Official guide |
| Brother | MFC-J1010DW | Print Head Cleaning (Black only / Colour only / All) | Yes | Brother says the printer automatically cleans itself when needed, but you can manually clean the head if quality problems appear. This model can target black only, colour only, or all channels. |
Good example of a printer where a single-color purge page makes sense when only one channel is weak. Auto / manual cleaning guide · Cleaning strength options |
| HP | Smart Tank 7301 / 7300 series | Clean the Printheads / Align Printheads | Yes | Use the printer’s print-quality tools and clean the printheads when black or color ink is not printing correctly. Alignment is part of the usual HP maintenance path. | HP advises waiting before running another cleaning cycle, which makes “print, test, then decide” especially important. Print-quality cleaning guide · 7300-series printhead guide |
| HP | OfficeJet Pro 9010 / 9020 series | Clean Printhead / Align Printheads | Yes | If black or color output is poor, HP directs you to run the built-in clean routine. For badly clogged heads, another cycle may be needed. | HP explicitly says to wait before repeating the full cleaning sequence, so repeated back-to-back cleaning is not the best first instinct. Official guide |
What this means in practice
Usually the clearest “test first, heavy clean last” workflow. Great candidate for targeted purge printing after a nozzle check.
Strong escalation path: Cleaning → Deep Cleaning → Ink Flush / Replace Ink in Print Head. Good reminder not to jump to the heaviest step too early.
Often auto-cleans in the background. Manual cleaning is for visible problems, and stronger options use more ink.
Think in terms of diagnostics, cleaning, then alignment. Give the printer time between cycles instead of stacking cleanings too fast.
Use purge sheets with the built-in tools, not instead of them
- Start with the general guided purge walkthrough if you are not sure whether the problem is cyan, magenta, yellow, or black.
- If only one channel is weak, print the matching single-color sheet first instead of blasting all channels at once.
- If the manufacturer guide tells you to wait after a heavy cleaning step, actually wait. That is often the difference between a recovery and wasted ink.
- If repeated cleaning does not change the nozzle / diagnostic pattern, the issue may be beyond normal purge printing.
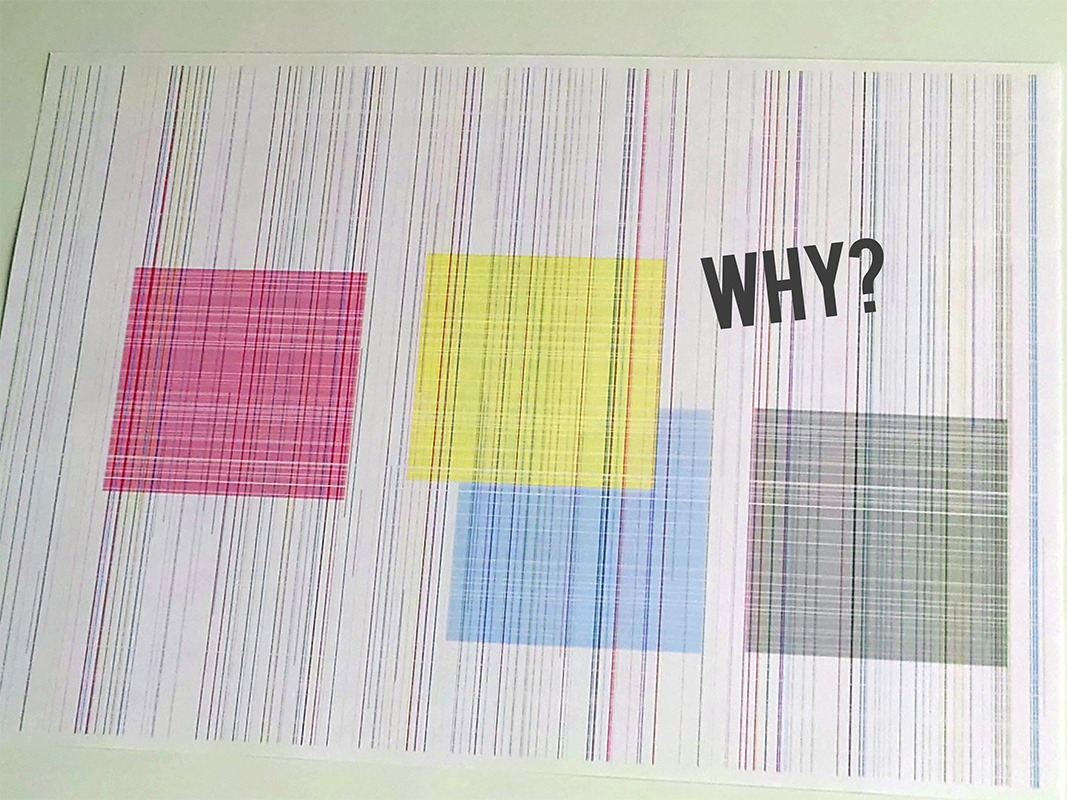
Choose the purge sheet by affected ink
Not sure which one to print first? Start with the guided purge print page, then come back to the matching color sheet.
Read the printer’s own wording
- Epson: Nozzle Check → Print Head Cleaning → Power Cleaning
- Canon: Nozzle Check → Cleaning → Deep Cleaning → Ink Flush / Replace Ink in Print Head
- Brother: Print Quality Check → Print Head Cleaning → Special / Strong Cleaning
- HP: Print Quality Diagnostic Page → Clean Printheads → Align Printheads
Stop and reassess if the printer asks for a long wait, reports a printhead / maintenance error, or the nozzle pattern does not change after the heavy-clean step.

Purge to Fix
Printing a purge sheet can restore print quality and eliminate the need for a professional service visit. This DIY maintenance routine is highly effective for clearing clogged nozzles and dried ink buildup that causes horizontal banding or missing colors. While not a 100% fix for mechanical failure, it is the best first step for ink flow issues.
